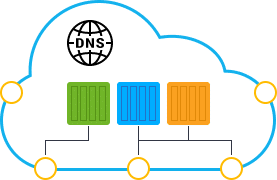
Being able to easily connect to your cloud services is a criteria of great importance for all of the developers. In Jelastic, each newly created node is assigned a number of automatically generated host names, pointed to the appropriate server internal/external IP address.

Depending on a type of the created node, the set of host names for it could differ. With this article, you’ll learn all the possible ways to refer to a particular node, hosted at Jelastic PaaS, from both inside (i.e., when managing it via Jelastic SSH Gate) and outside of the cloud. In addition, we’ll provide some useful hints on how to interconnect your nodes via Platform internal network.
So, let’s start with the most common host names, which are assigned to any container. And after that, we’ll overview specific host name aliases for Docker containers and dockerized Jelastic-managed stacks.
Host names for Specific Container
The following formats of node host names can be used in order to get internal IP of a specific container for the further access:
- node${nodeId}–${envName}.${platformDomain};
- node${nodeId}.${envName}.${platformDomain}.
Herewith, the highlighted placeholders should be replaced with the next values:
- ${nodeId} – an automatically generated unique digit identifier, assigned to each container within a Platform;

- ${envName} – environment name (not an alias), specified during its creation;
- ${platformDomain} – domain name of the Jelastic PaaS platform.
Both variants can be used for referring to the nodes from inside or outside of the platform (i.e., allowing to establish both internal and external connections).
Short Host Names for All Containers in One Environment
All the newly created Docker containers (since 4.8 platform version) and dockerized Jelastic-managed stacks (since 5.1 platform version) are provisioned with a specific DNS rule, which allows usage of the additional simplified host name type:
- node${nodeId} – alias to refer to a container in confines of a single environment.
Utilizing such short domains in server configuration files, application source code and SSH console (within often used commands like ping, host, dig, etc.) make operating with Dockerized stacks via Platform internal network much more convenient. Additionally, such approach enables painless environment migration to another hardware region through eliminating the necessity to adjust your application code due to the changed server location.
Short Host Names for Containers in One Layer
In order to get all internal IP addresses of containers within one node layer of a specific environment, the following host name is used:
- ${nodeGroup}.${envName}.${platformDomain}.
Where ${nodeGroup} placeholder is a name of the layer (cp, bl, sqldb, nosqldb, storage, cache, vps, build, etc.) the required container belongs to.
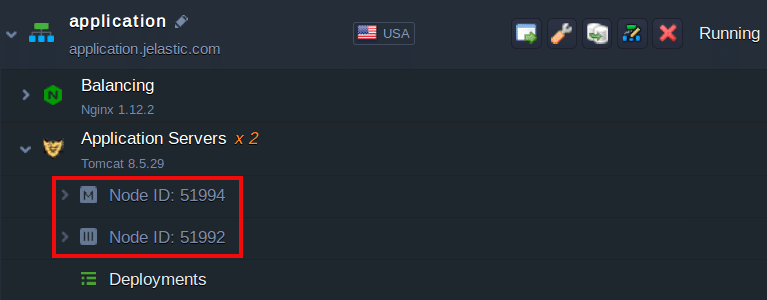
In a case with our environment, we use the following command to get DNS respond:
$host cp.application.jelastic.com

Every time a new container is created in a system – a new round-robin record is automatically added to DNS to the appropriate layer name.
Upon linking two environment layers, a set of dedicated DNS records are automatically added to the global Jelastic database. This allows to refer to the nodes within a target layer from the source ones (but not vice versa) when working in confines of these two layers using the following host name aliases:
- ${linkAlias} – to connect to a random node within target layer; an exact node to respond is chosen by means of the Round-Robin algorithm to ensure even load distribution;
- ${linkAlias}_${N} – to access a particular container within a target layer.
Here, the appropriate placeholders are to be substituted with:
- ${linkAlias} – link name you’ve specified during its setting (e.g., tomcat in the image below);

- ${N} – nominal index number (in a 1…N range) of a particular container within the target linking layer (e.g., tomcat_1, tomcat_2, etc.); herewith, master container is always considered the 1st instance, whilst the rest of nodes within a layer are assigned numbers according to their nodeID values, sorted in the ascending order (starting with the _2 index respectively).
For example, let’s suppose there are three containers on a layer – with the 123, 124 (master) and 125 IDs. According to the above-described implementation, the aliases will be assigned as follows:
- alias_1 – link to the 124 container as a master node;
- alias_2 – will point to the 123 instance since it has the lowest ID among the remaining containers;
- alias_3 – for referring to the 125 container as the one with the next lowest nodeID.
Now, you know all the specifics and shortcuts that can be used to refer to your nodes, which will help to quickly and efficiently organize connections between your application instances. Try this and a lot of other features of Jelastic for yourself with a free trial at our Jelastic PaaS platform.
